


Looking for new flooring? Something that adds a touch of elegance to your home while still being easy to fit?
Luxury vinyl tile flooring ticks all the right boxes.
It can beautifully replicate the character, look, and grain of hardwood or the gorgeous texture and feel of tiles, and is comfortable, cushioned, and warm under your feet.
LVT floors are also scratch and stain-resistant – making them perfect for busy households and stylish interiors – and you’ll be pleased to know they’re straightforward to fit, too.
Read on for a quick guide to everything you need to know, from acquiring the necessary tools to laying the tiles correctly.
How to install LVT flooring in 5 simple steps
Before you fit Karndean LVT, Polyflor LVT, or any other type of vinyl flooring, you need to gather a few basic tools, including:
- LVT
- Underlay and tape (if required)
- A tape measure
- Ruler
- Pencil
- Utility knife
- Spirit level
- Spacers
Power tools like jigsaws and multi-tools can also be helpful for intricate cuts or trimming around obstacles, such as pipes and door frames.
Step 1 – Acclimatisation
LVT flooring can shrink or expand with temperature changes, so you must allow the planks or tiles to acclimatise for up to 72 hours before installation.
To do so, lay the packs of LVT flat in the room where they will be installed. This allows air to circulate each pack.
Whether it’s Invictus LVT, Moduleo LVT, Tarkett LVT, or Luvanto LVT, the exact amount of time for acclimatisation can vary depending on the product, so always refer to the manufacturer’s instructions.
Step 2 – Prepare the subfloor
Preparation is key for a smooth LVT installation.
Vinyl flooring can be laid on top of concrete or wooden floorboards.
Concrete floors need to be clean, dry, level, and free from dust, dirt, and debris before LVT can be installed. It’s also important to check the moisture levels of the concrete are under 3%.
If you’re laying LVT over floorboards, you’ll need to remove or hammer any protruding screws or nails so they sit flush.
To check the substrate is flat, use a spirit level. If it deviates more than 3mm over a 1m area, you’ll need to use a levelling compound to even it out first.
Step 3 – Install the underlay (if needed)
Many vinyl floors come with an integrated underlay. If your chosen LVT flooring does, skip this step and move on to Step 4.
However, if your chosen product doesn’t have an integrated underlay, fitting a good quality underlay underneath it can help keep the room warm, protected, and a little quieter.
To do so, you’ll need to roll out the underlay along the length of the room, with the foil side facing upwards. Using your utility knife, cut the underlay to length.
Then, lay a second row alongside the first one. Once you’ve cut it to size, tape along the edges where each row meets. Repeat this until you’ve covered the entire floor.
Step 4 – Lay out your LVT flooring
Careful planning allows you to position cuts away from noticeable areas, like the door frame, ensuring a more professional look.
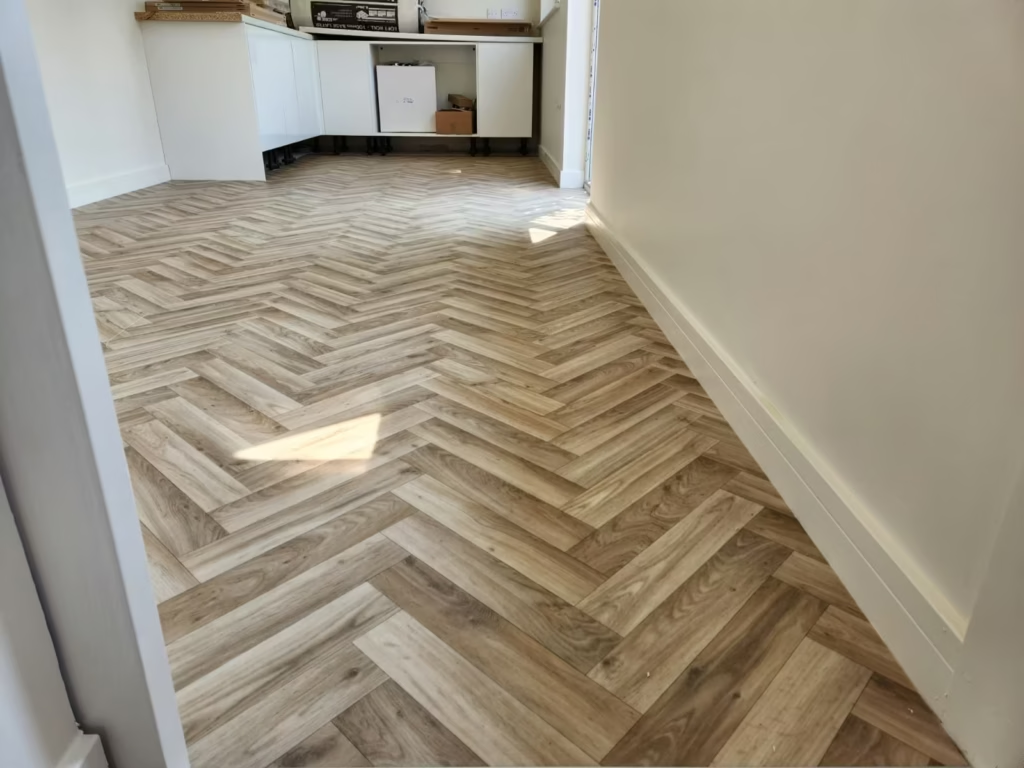
Although you can lay your floorboards in your desired pattern (i.e. herringbone, chevron, basketweave, etc.), remember to account for the necessary expansion gaps and joints around the room. Such information can be found in the manufacturer’s specifications.
Spacers will help you maintain a consistent distance between the walls and your floorboards, ensuring proper alignment throughout your installation project.
To achieve the best results, consider laying your LVT flooring in the direction of the room’s main light source (i.e. a window) or along its longest edge.
Step 5 – Fit your LVT flooring
There are various click systems with LVT floors – two of the most common being “tap down” (or “fold down) and “angle click”.
Either way, aim to install the entire length of the first row before moving on to the second – starting with a ½ board and a full board on the second row to ensure the joints are staggered.
If any of the boards need trimming, mark the cutting line on the reverse side and use your pencil, ruler, and utility knife to score it a few times – this will ensure a clean split.
Finally, once you’ve covered the entire floor, remove the spacers and cover the expansion gap with skirting boards or door threshold transition strips to ensure a neat, finished look.
Install LVT flooring with the help of Carpet Style
From Amtico LVT to Tarkett LVT, and all of the other popular brands mentioned, we’re proud to supply only the best vinyl flooring for our customers.
However, we don’t just pride ourselves on offering luxury vinyl tile flooring at the most competitive prices – we also have extensive experience in LVT flooring installation.
Therefore, if you’re preparing to lay your own LVT flooring and would like a little assistance, don’t hesitate to get in touch. Our experts are always happy to help.
Alternatively, if you’d prefer to leave the planning and installation to the professionals, you can rely on Carpet Style to handle the entire process safely and professionally.
Our experienced installers ensure minimal disruption and flawless results that you can enjoy for many years to come.
Just give us a call on 0115 940 4110 or visit your local carpet shop in Nottingham to find out more about our LVT flooring options.